#39 HomeKit Devices Simulator using Node-RED & Raspberry Pi
In Issue #38 Bartek showed how we can leverage Homebridge to emulate HomeKit API for various smart devices.
Today we will tackle slightly different problem related to HomeKit. Imagine that you want to play with HomeKit, but have no devices, don’t want to invest too early or simply just need to quickly try it out?
In this post you will learn how to simulate multiple HomeKit devices using, RaspberryPi, Node-RED and Node-RED’s HomeKit nodes.
What is Node-RED?
Before we dive deeper into HomeKit related stuff I owe you a bit of explanation of what Node-RED is.
Node-RED is a programming tool for wiring together hardware devices, APIs and online services in new and interesting ways.
It provides a browser-based editor that makes it easy to wire together flows using the wide range of nodes in the palette that can be deployed to its runtime in a single-click.
Yes, it is that simple. You take some elements from a palette, drop them on a canvas, wire up together, add some logic in JS if needed and voilà. You can build IoT flows, JSON services, simple websites, integrate with cloud and many more. If you miss some node - check in library of 1000s of elements, there are also entire flows to download. You can write your own nodes too. As all this is node.js based, you can use any node.js package in your code too.
If you want to see it in action now, take a look at the introduction video:
Prerequisites
To build HomeKit simulator you will need a RaspberryPi (RPi). I am lucky to own RPi 3, which has Wi-Fi and Bluetooth embedded in it. If you own an older version with Wi-Fi via USB dongle it should work just fine.
Our starting point is RPi with Raspbian OS installed. For those with little experience or ones that have just unboxed their RPi, I recommend tutorial for headless setup i.e. no keyboard, no display. You can find a link in references.
With Raspbian OS installed on your RPi, you are ready to move on!
Step 1: Node-RED on RPi
Node-RED comes pre-installed with Raspbian OS ;)
SSH to your RPi or connect via VCN. Then start node-red:
> node-red
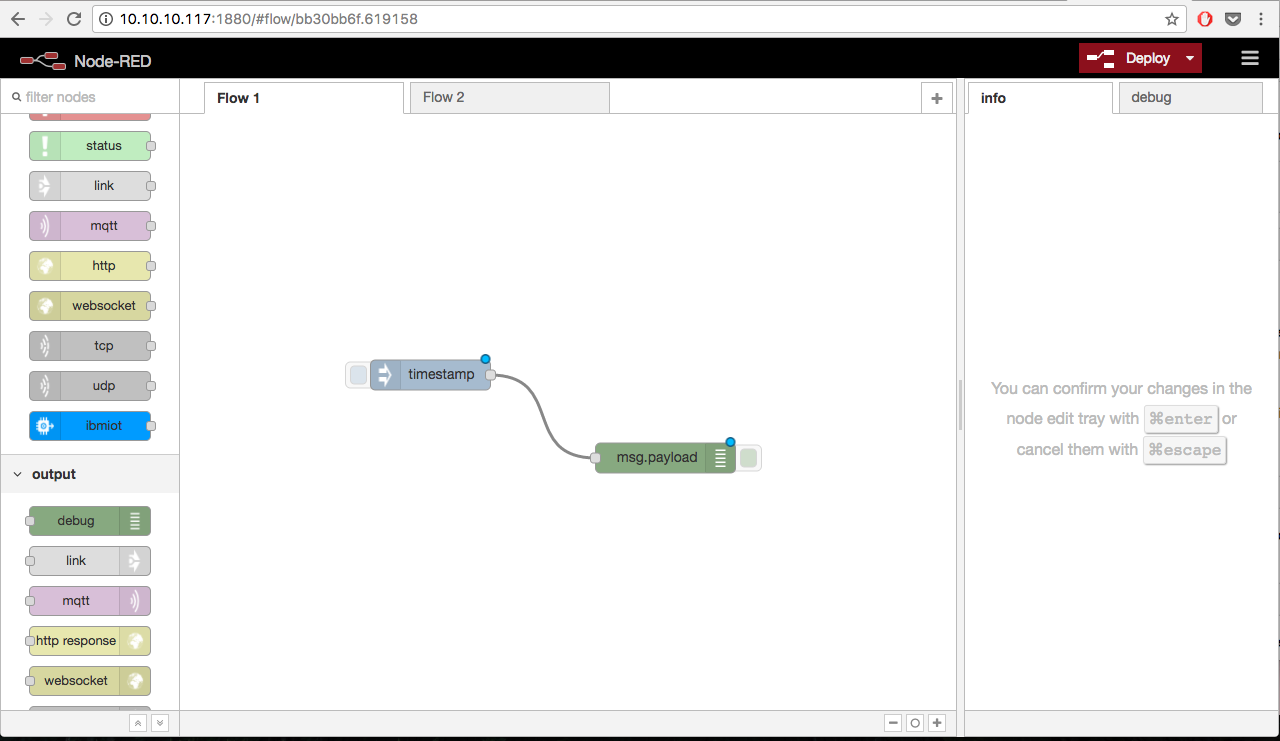
You should see Node-RED launching and saying that it is available on port 1880. You can open Node-RED in web browser on RPi, or what I would recommend, on your computer under http://<your.pi.local.ip>:1880.
Get familiar with the editor, look at the palette and explore the hamburger menu on the right.
NOTE: If by any chance you have no Node-RED on your Pi, follow these steps:
sudo apt-get update
sudo apt-get install npm
sudo npm install -g node-red
Step 2: Install Node-RED HomeKit node
In clean Node-RED installation there is no HomeKit node. That’s where the power of modules kicks in. Usually, nodes are added via Node-RED UI: Menu -> Manage Palette -> Install Tab -> Search your node -> Install.
However as you can see in HomeKit node manual, there are some prerequisites.
Run the following in terminal on RPi:
sudo apt-get install libavahi-compat-libdnssd-dev
Then install actual node. Run the following command from Node-RED user dir, typically ~/.node-red or use -g parameter:
npm install node-red-contrib-homekit
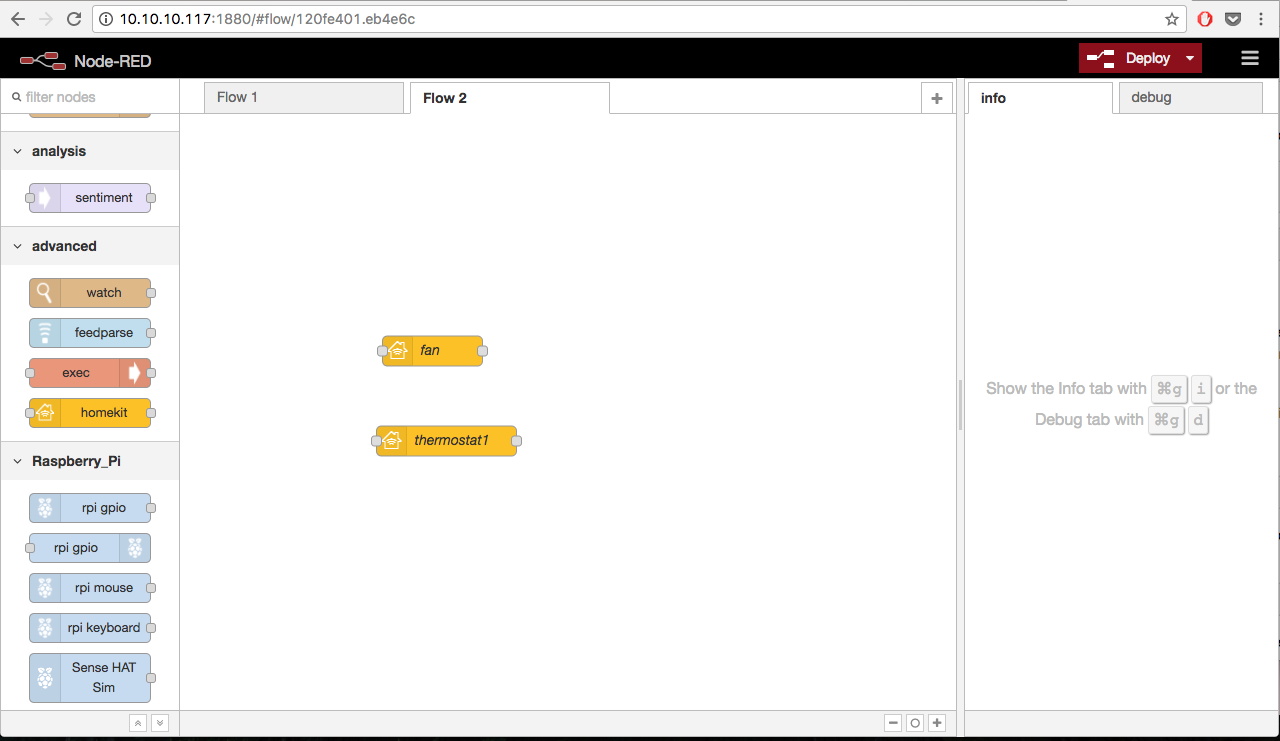
After restarting Node-RED you should be able to see HomeKit node in the palette:
Step 3: Run it!
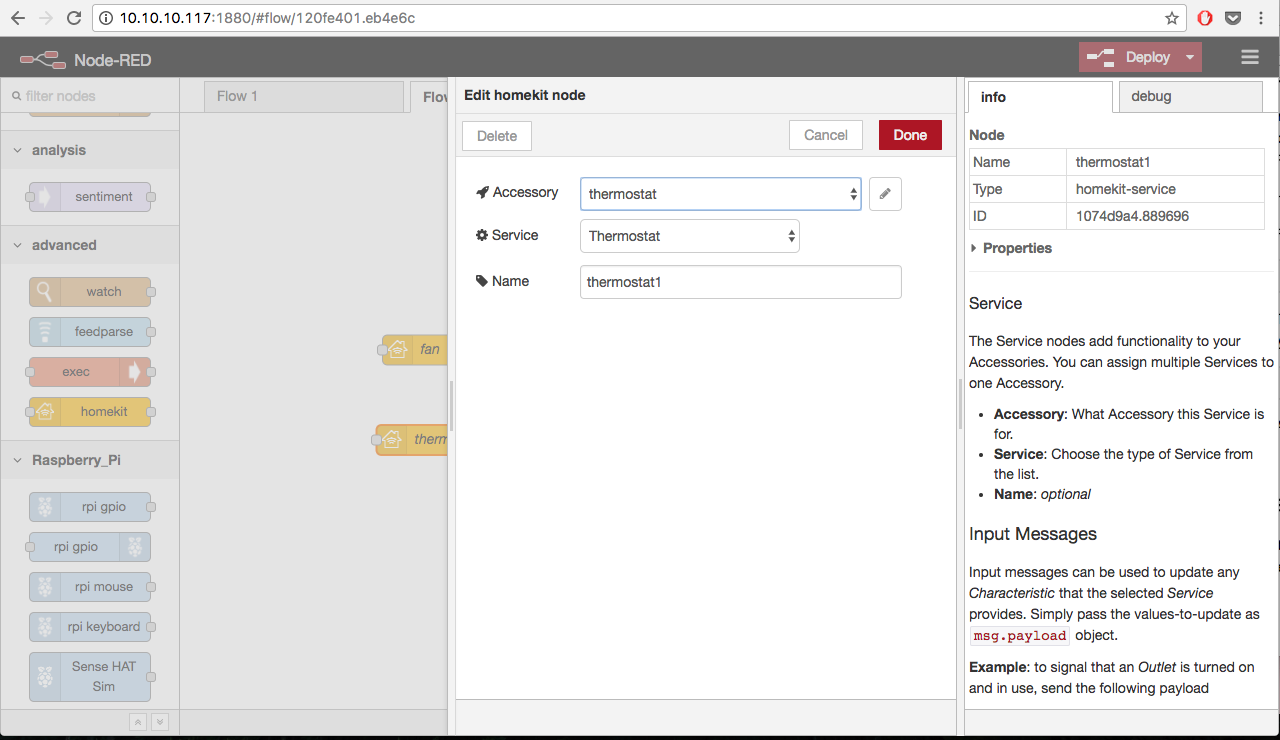
It’s almost done. All you need to do right now is to drag homekit node onto canvas and double-click to configure it to simulate desired device:
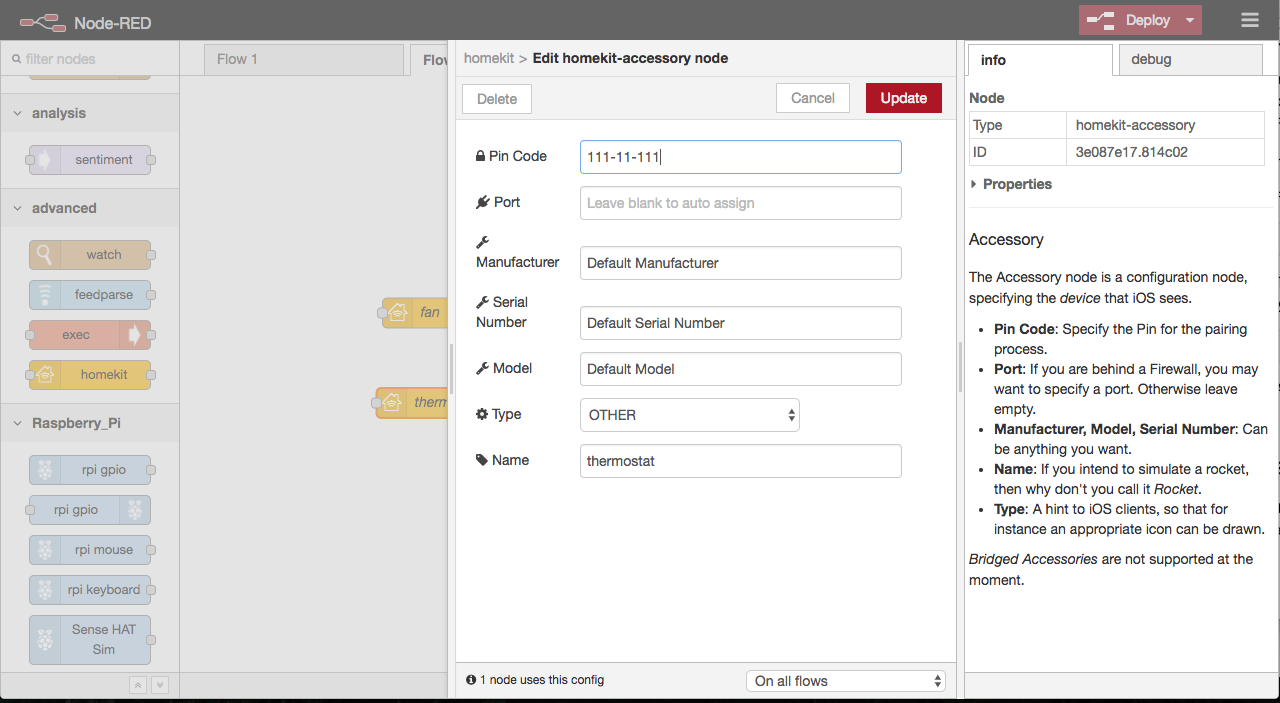
Hit Deploy button in top Node-RED bar and grab your iOS device connected to the same local network.
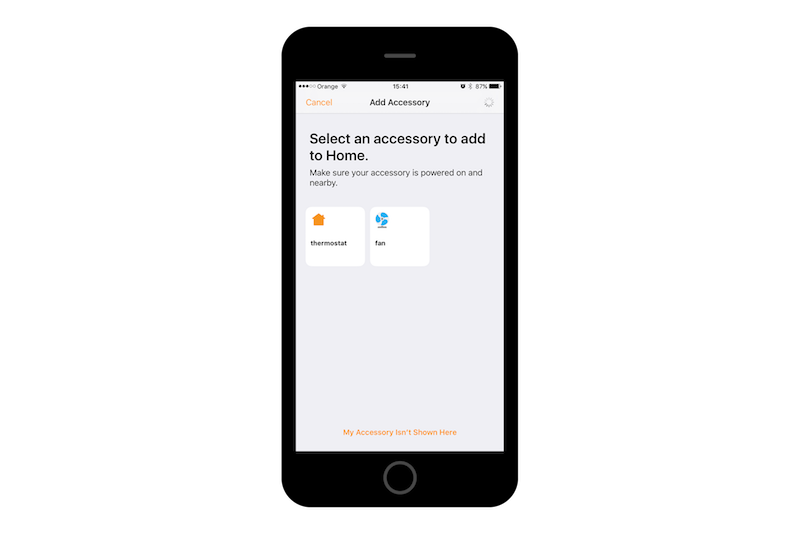
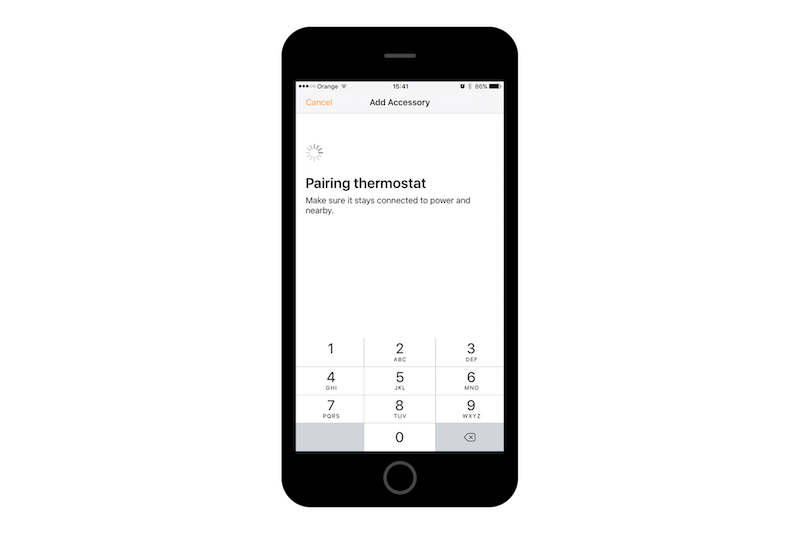
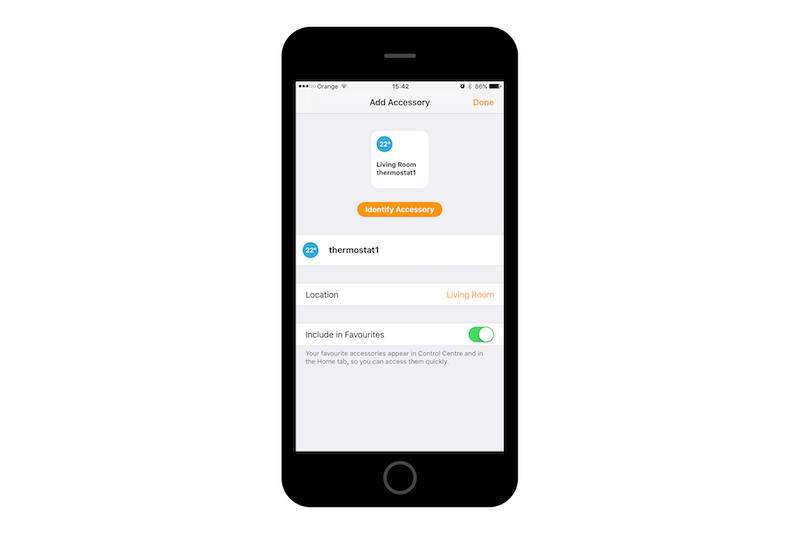
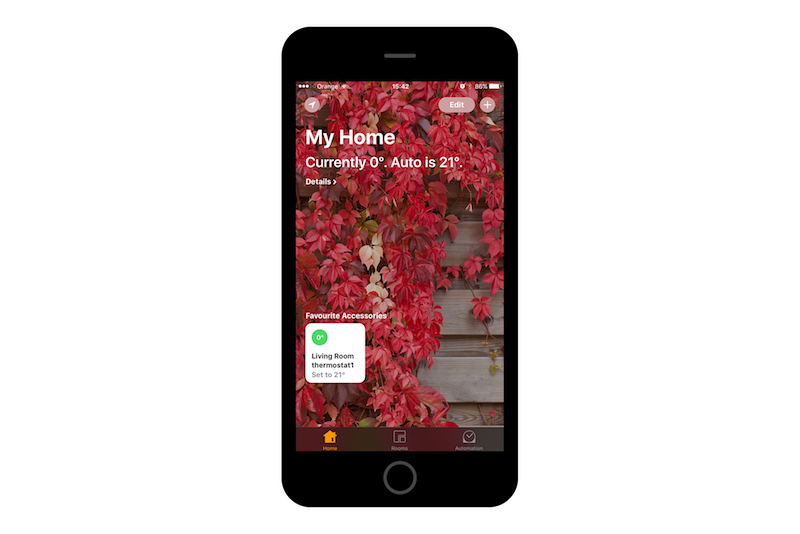
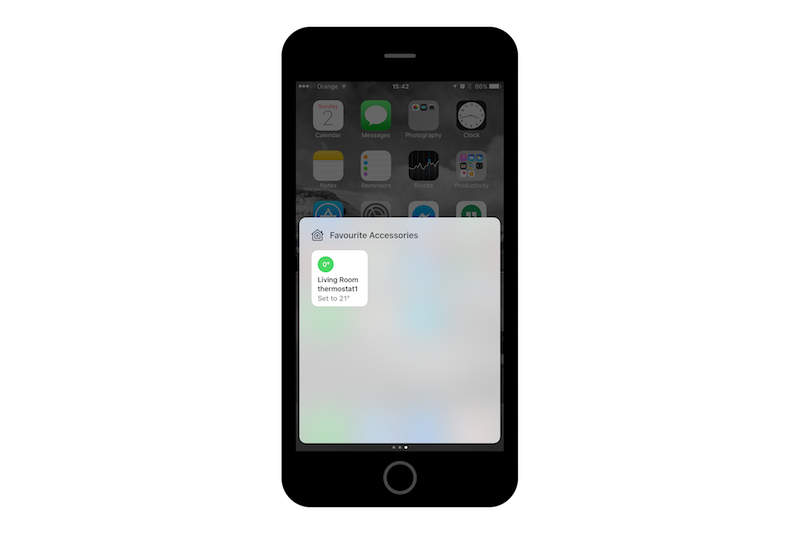
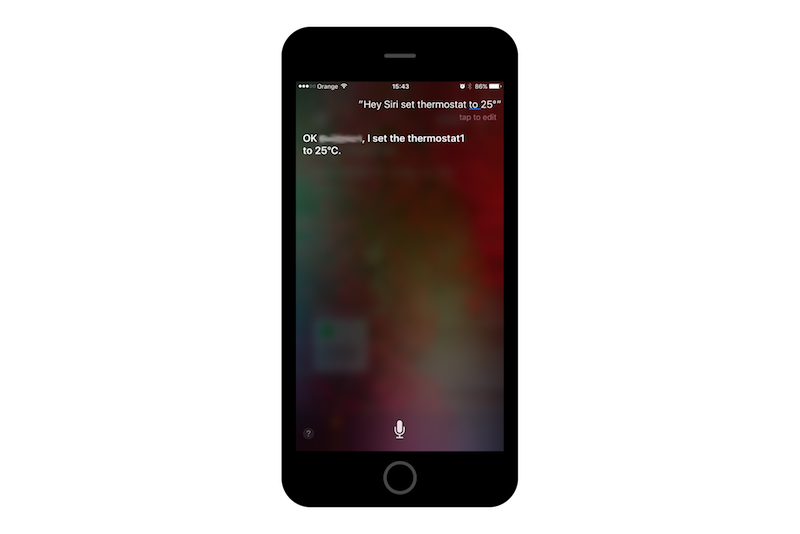
Now on your phone with Home app you will be able to find and configure devices simulated by your RPi:
Wrap up
This is it! Hope you have enjoyed this tiny tutorial. Powers of Node-RED go way beyond this simplified example. You may want to check out IoT IBM Coursera course I took some time ago (link below). The fastest way to check what Node-RED could do for you is to browse their node and flow catalog.