#38 Home automation with Homebridge
One beautiful day I thought:
“hmm… it would be great to control my gramophone using voice commands…”
After a few weekends everything worked as I had dreamed about:
I’m so excited!:)
Introduction
In today’s post I would like to present simple case: how to control electric devices in our homes with usage of Apple HomeKit. Before we start to dive deeper into the details let’s draft some general schema of the designed system:

Secondly, it is good to list everything what we really need:
1) Software
Homebridge is a lightweight NodeJS server you can run on your home network that emulates the iOS HomeKit API. It supports plugins, which are community-contributed modules that provide a basic bridge from HomeKit to various 3rd-party APIs provided by manufacturers of “smart home” devices.”
2) Hardware
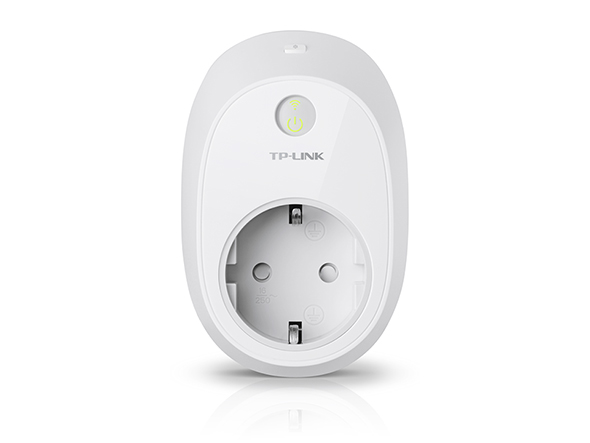
- Smart Wi-Fi plug (in my case it was tp-link HS110)
- Raspberry Pi
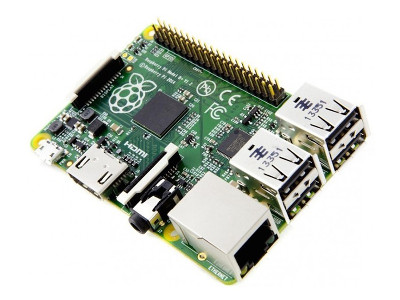
I have used Raspberry Pi 2 model B which I bought 2 years ago. Today I would recommend Raspberry Pi 3 with integrated Wi-fi and Bluetooth. On Raspberry I have Raspian Wheezy but also should work on never Jessie system.
- Raspberry Pi USB Wi-Fi Dongle (optional)
I used this one. You only need this kind of device if your Raspberry doesn’t have built-in Wi-fi module. Wi-fi is required because you need to connect your device to your local network.
- and of course: iPhone (also connected to your local Wi-fi)
That’s all. It’s time to build everything from scratch:
Step by step tutorial
1) Install Homebridge on Raspberry Pi
Install Homebridge on your Raspberry Pi. You can find a great tutorial here
2) Install necessary plugins
To see the full list of all available plugins visit this website. In my case I needed to install only one plugin (homebridge-hs100 plugin)
sudo npm install -g homebridge-hs10
3) Integration with accessories (Smart Plug Wi-fi)
Homebridge is useless until you’ve created a config.json file containing your accessories and/or platforms.
Your config.json file MUST be inside of .homebridge folder:
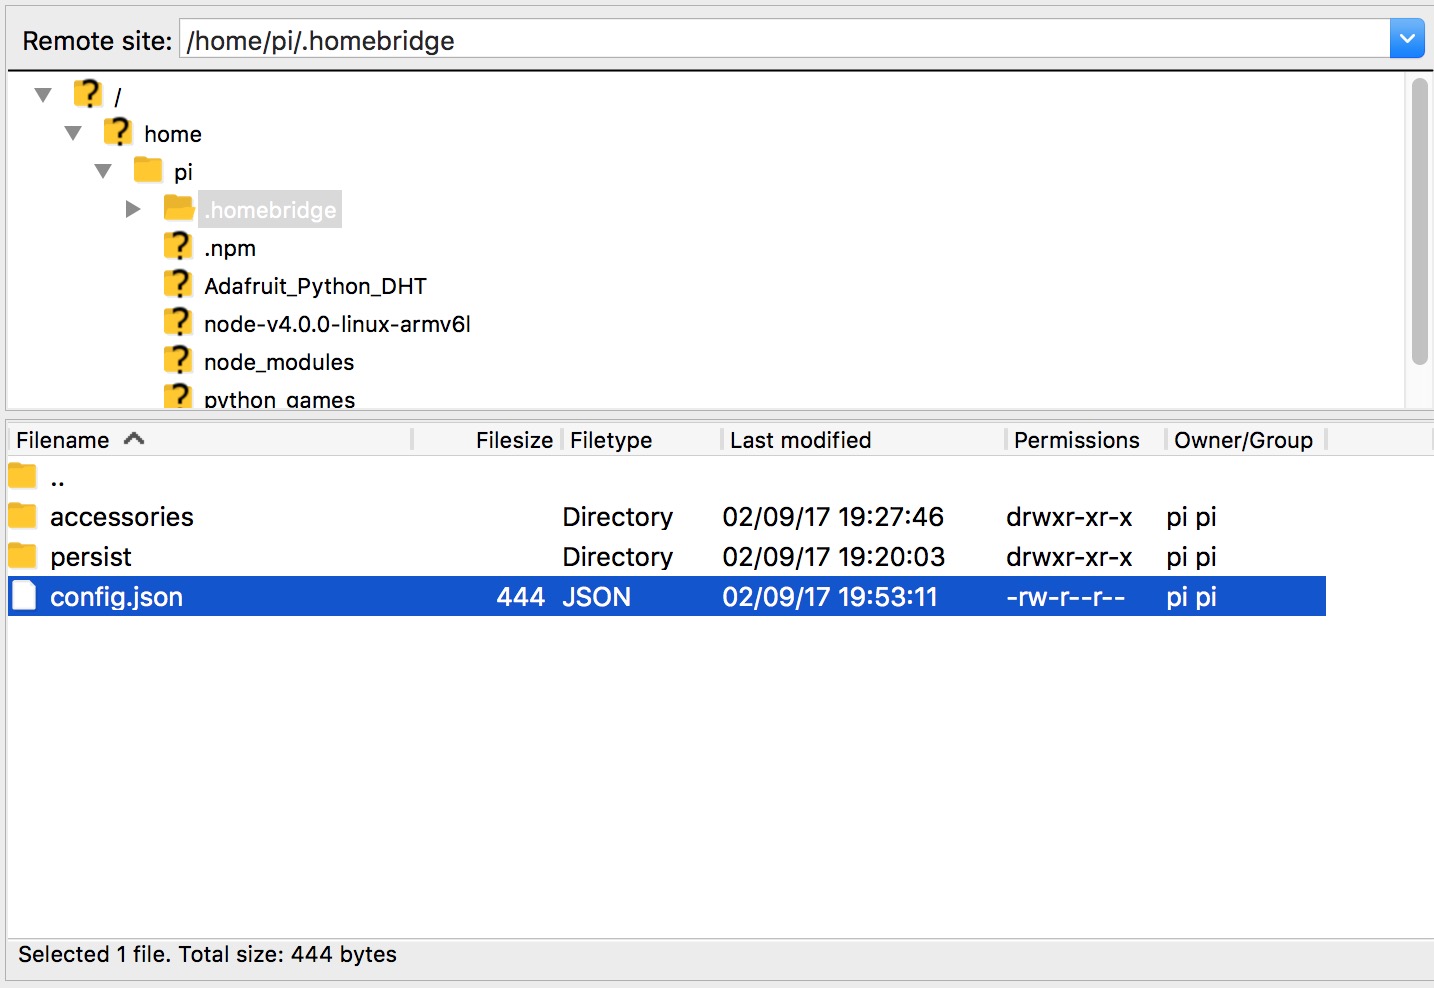
My config file:
{
    "bridge": {
        "name": "Homebridge",
        "username": "CC:22:3D:E3:CE:30",
        "port": 51826,
        "pin": "031-45-154"
    },

    "description": "",

    "accessories": [],
    "platforms": [{
    "platform": "Hs100"
    }]
}
4) Run Homebridge on Raspberry Pi
Just type:
$ homebridge

then you should see a PIN which will be used in the next step.
5) Integration with HomeKit
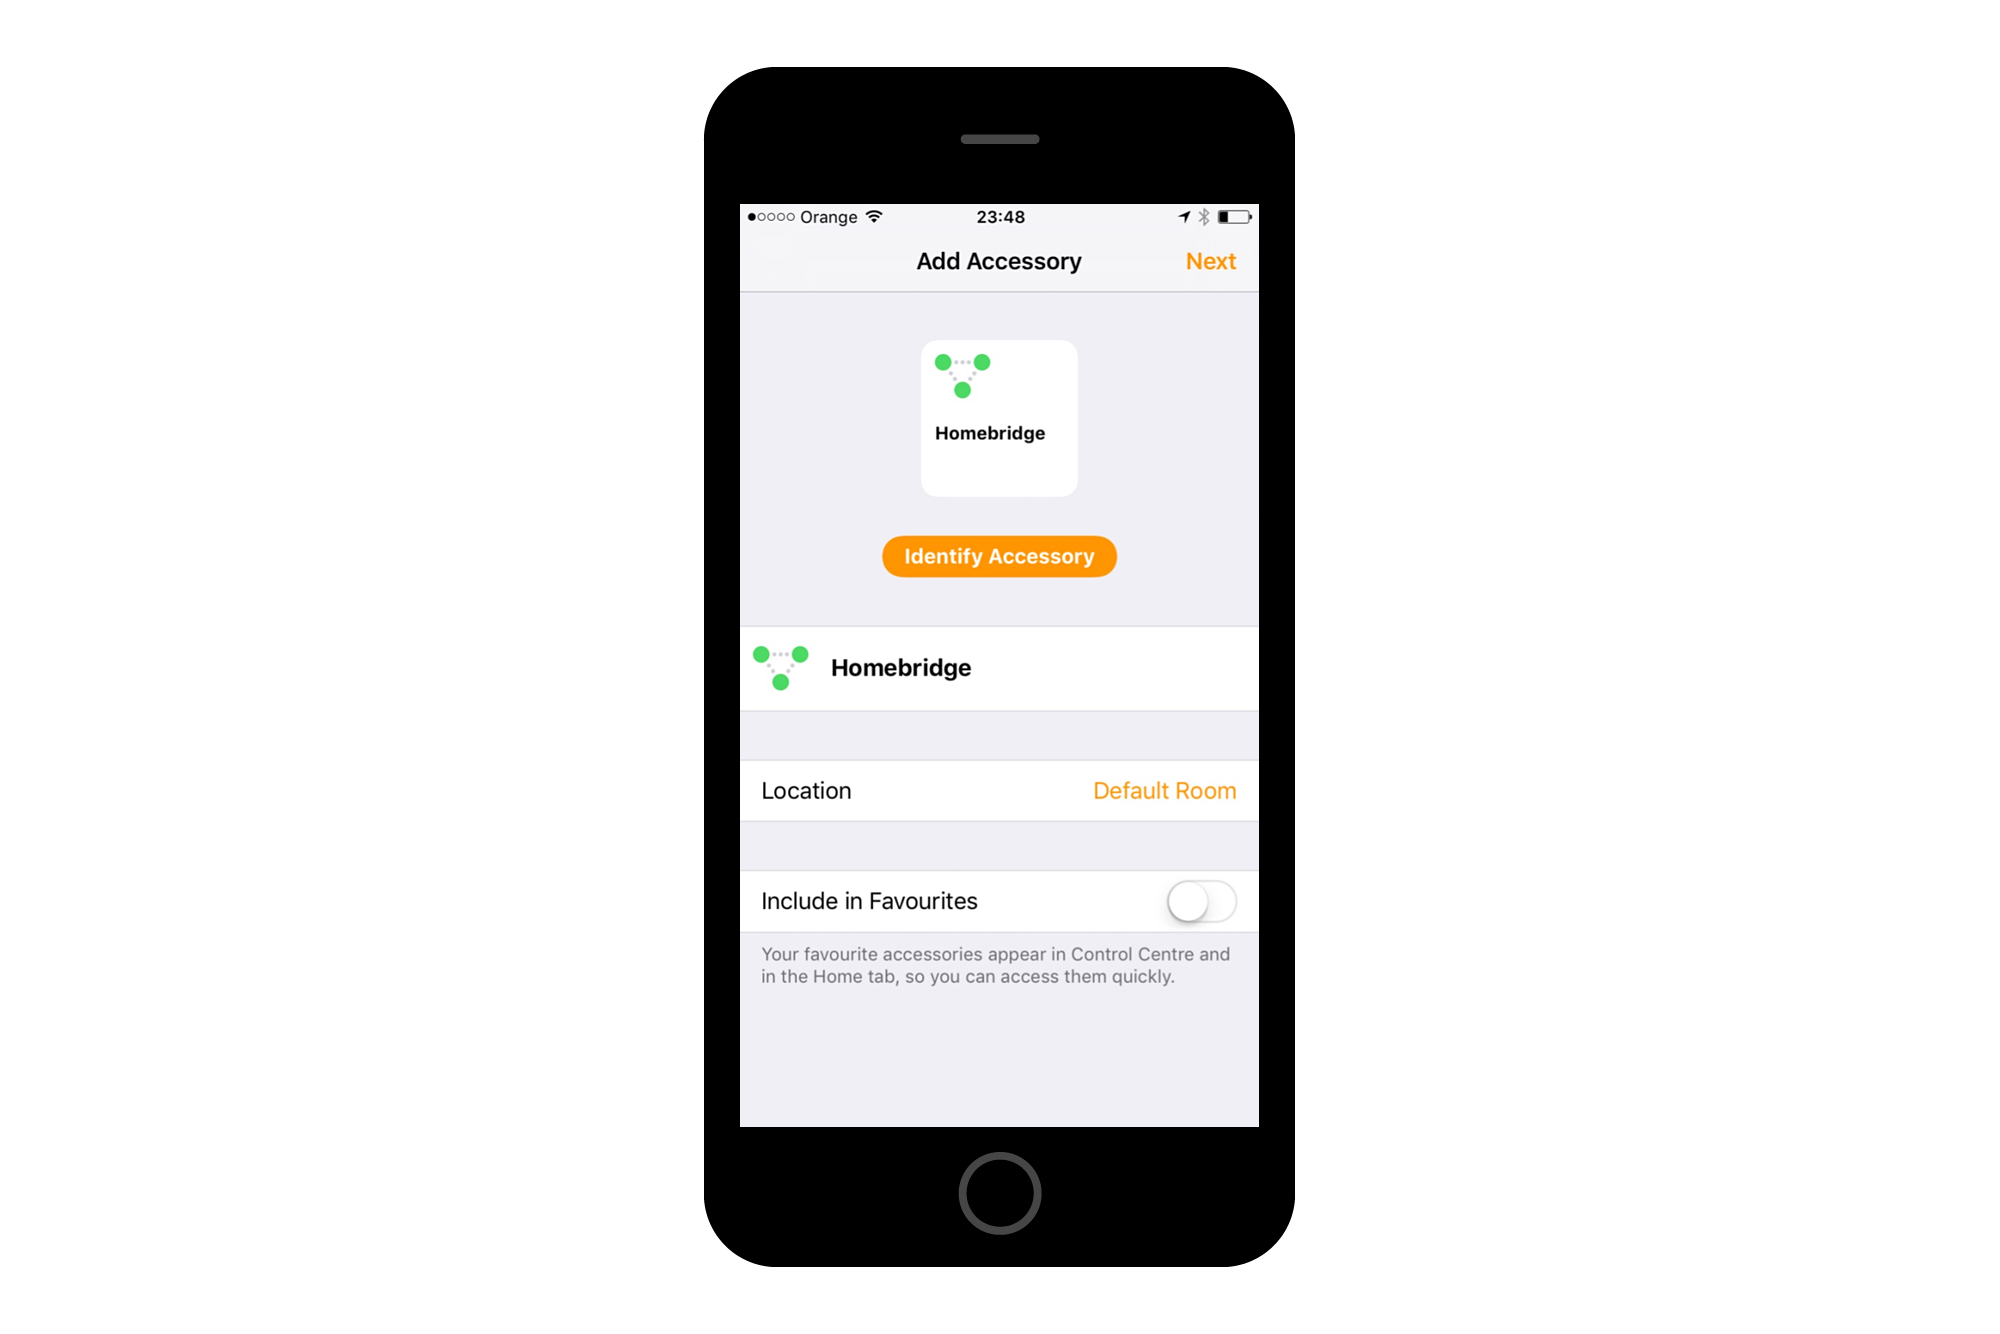
Open HomeKit on your iPhone and press “Add Accessory” button, it should ask you for a PIN code:

After entering the code you should see an accessory edit view:
After clicking next we go to screen with possibilities to edit smart plug name, location etc.:

6) Control
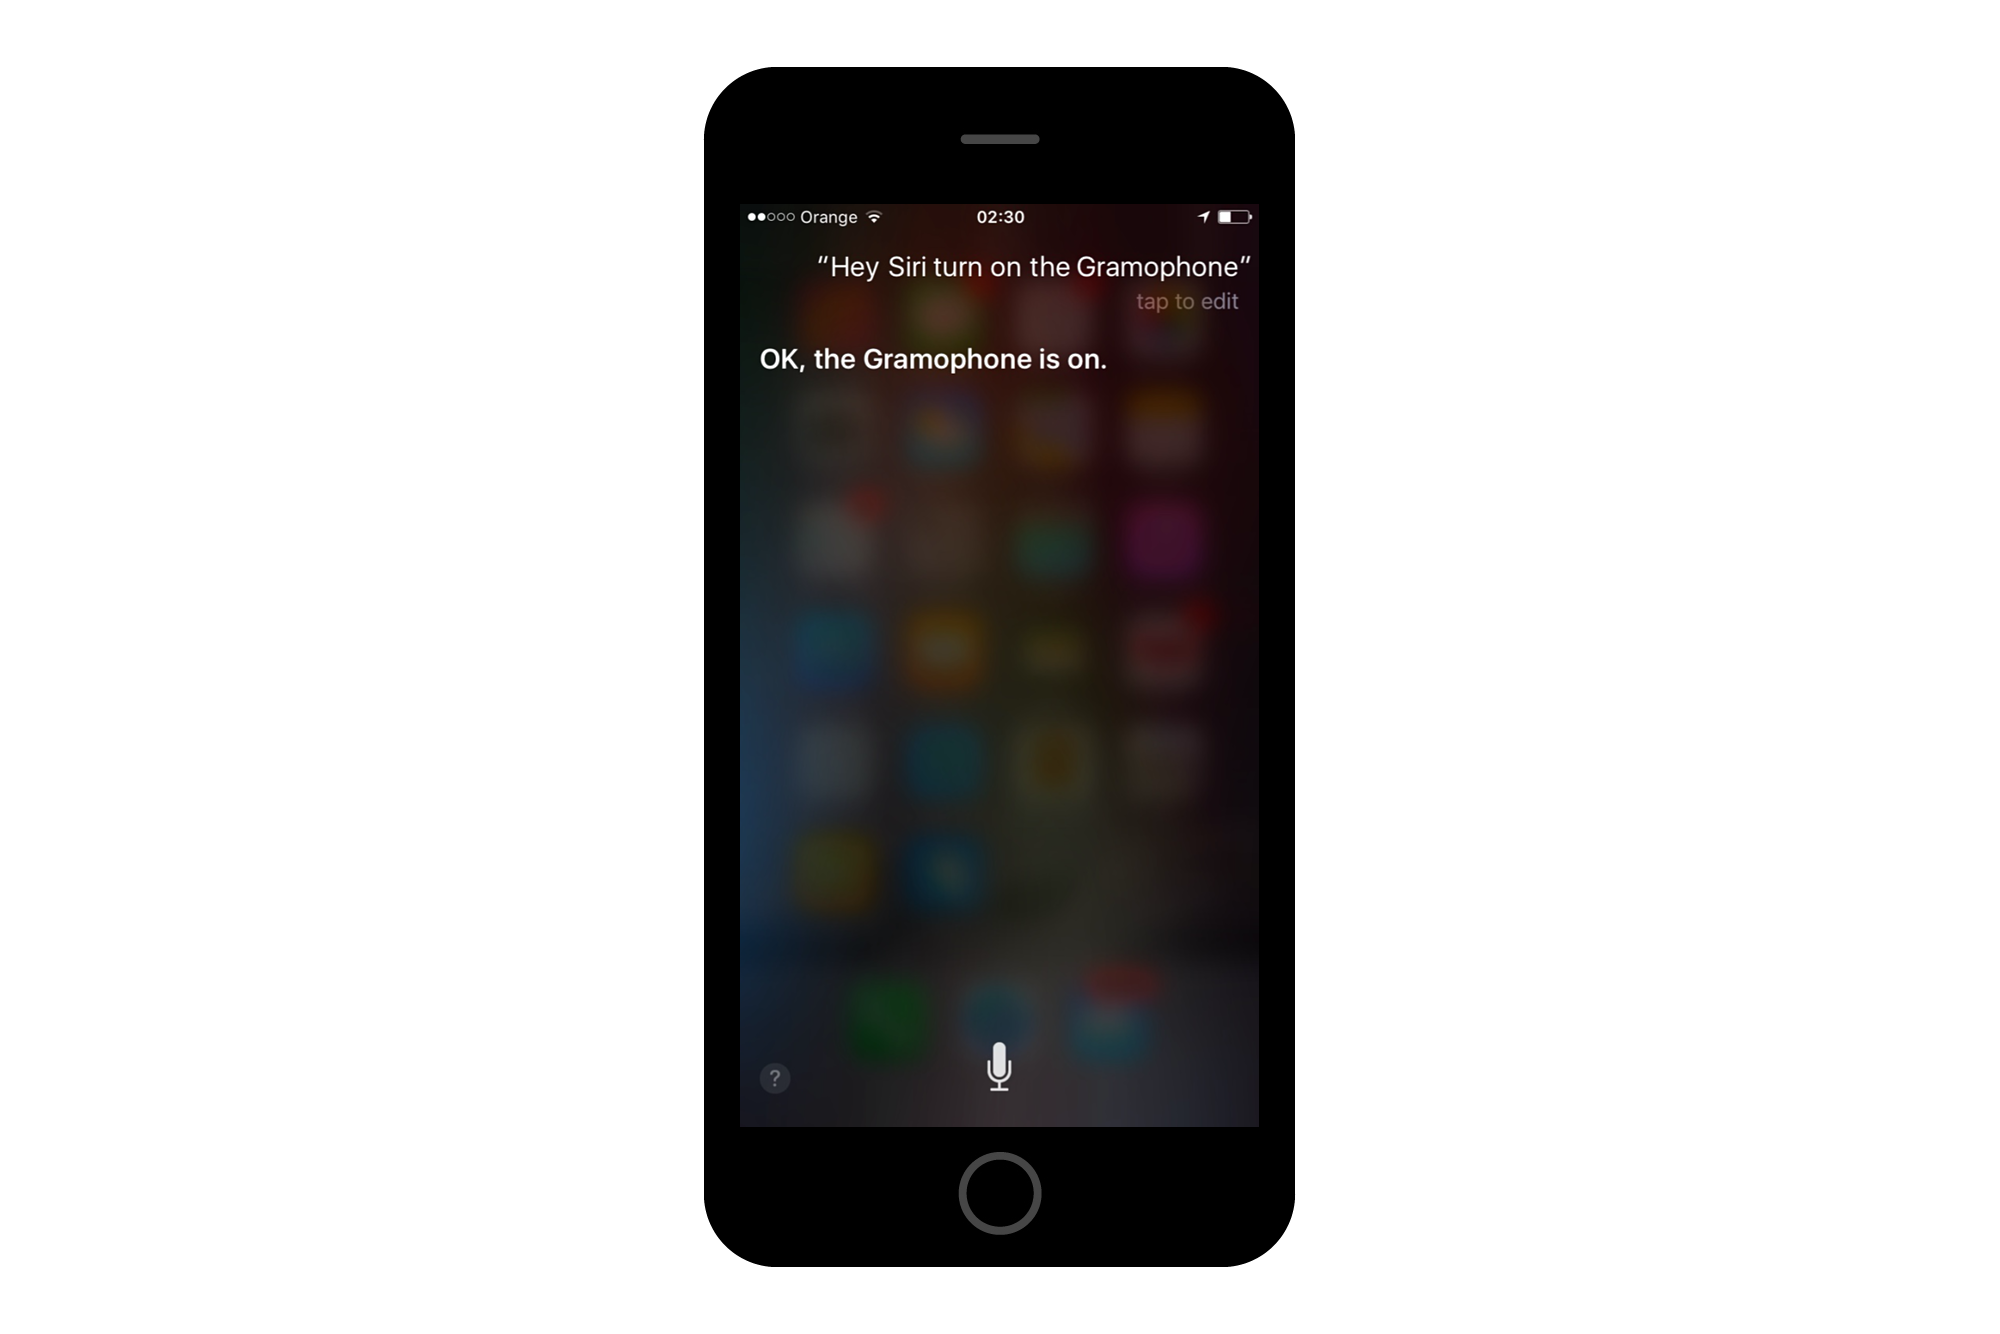
Siri
Once your device has been added to HomeKit, you should be able to tell Siri to control your devices:
Manually
or you can do the same by clicking on smart plug icon in control center if you marked option “Include in “Favorites” in previous step:

Summary
I have to say that I have had great fun during creating this smart solution!:) My system can only turn on and off my gramophone and there is neither possibily to change volume nor to start play record… but I love what I did and for sure I will invest more time to develop my smart room:) So what can I say?
Try everything by yourself and have fun!!!